Contouring and highlighting are essential techniques for adding dimension and structure to the face. Whether you’re going for a subtle, natural lift or full-on red carpet glamour, these tips will help you master the art of sculpting.
As someone who’s worked with a wide range of clients and face shapes, I’ve always found that contouring is where artistry truly shines—it’s less about trends and more about understanding the person in your chair.
Understanding Face Shapes
Recognising a client's face shape is the first step to successful contour and highlight. Here's a quick breakdown of the most common face shapes, how to identify them, and techniques to enhance each one:

· Oval Face: Balanced proportions with slightly wider cheekbones and a gently tapering jawline. This shape is considered the most symmetrical, so contouring is more about enhancing natural structure. Light contour beneath the cheekbones and a touch of highlighter on the tops of the cheeks and down the nose work beautifully.

· Round Face: Equal width and length with soft angles. Contour at the temples and under the cheekbones to add definition. Highlight the centre of the forehead, nose, and chin to create elongation.

· Square Face: A strong, angular jawline and broad forehead. Soften the corners by contouring along the jaw and temples. Highlight the centre of the face and just above the cheekbones for balance.

· Heart-Shaped Face: Wider forehead that tapers to a narrow chin. Contour the outer edges of the forehead and under the cheekbones. Highlight the chin and under-eye area to bring light to the lower face.

· Long/Rectangular Face: Face appears longer than it is wide. Focus contouring on the top of the forehead and the bottom of the chin to reduce the appearance of length. Blend highlighter across the cheekbones to add width.
Identifying your client's face shape helps you tailor your application, ensuring each highlight and contour placement works harmoniously with their natural features.
1. Find Your Features
Understand your face shape and which areas you want to define or enhance. Generally, you’ll contour under the cheekbones, along the jawline, and at the temples.
2. Choose the Right Tools
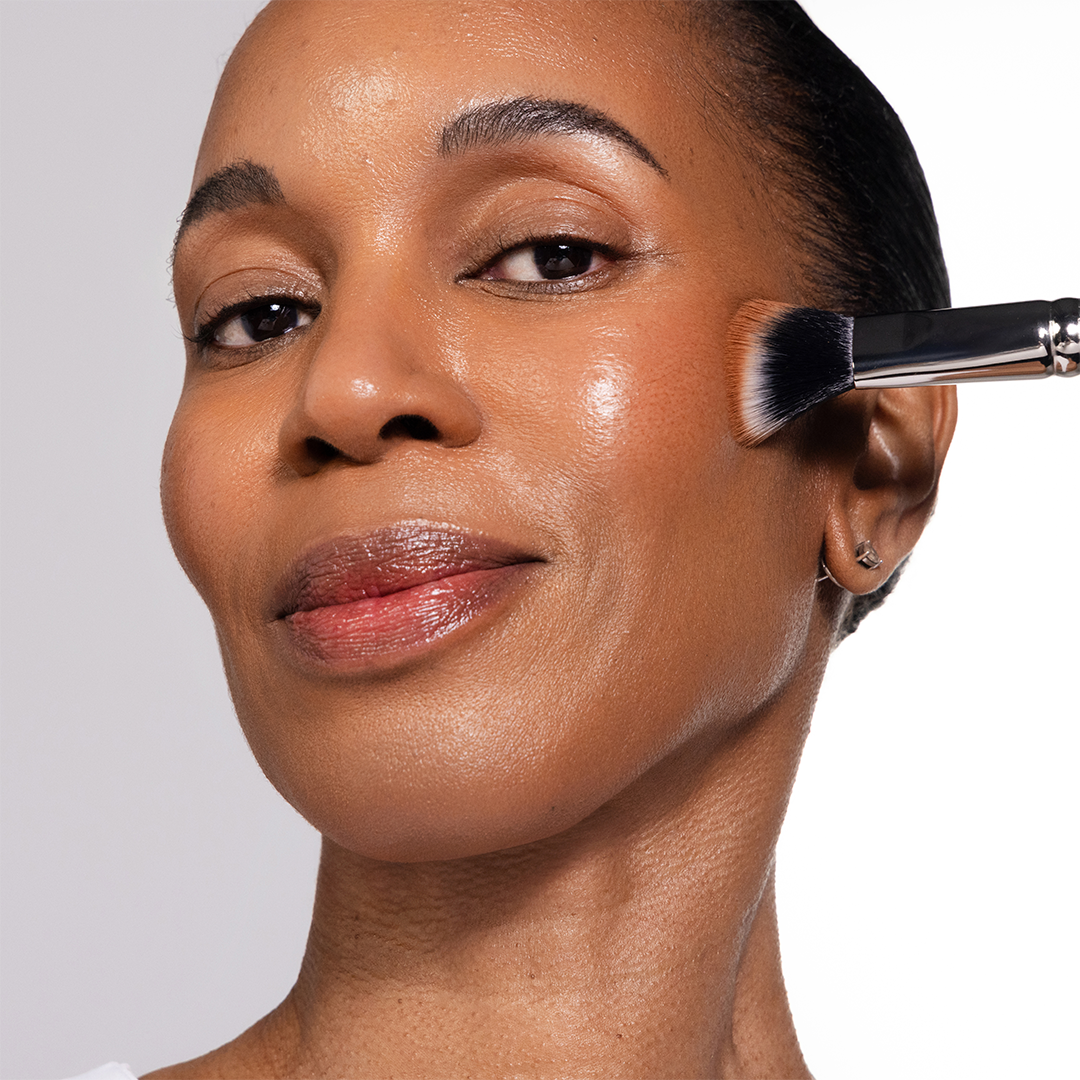
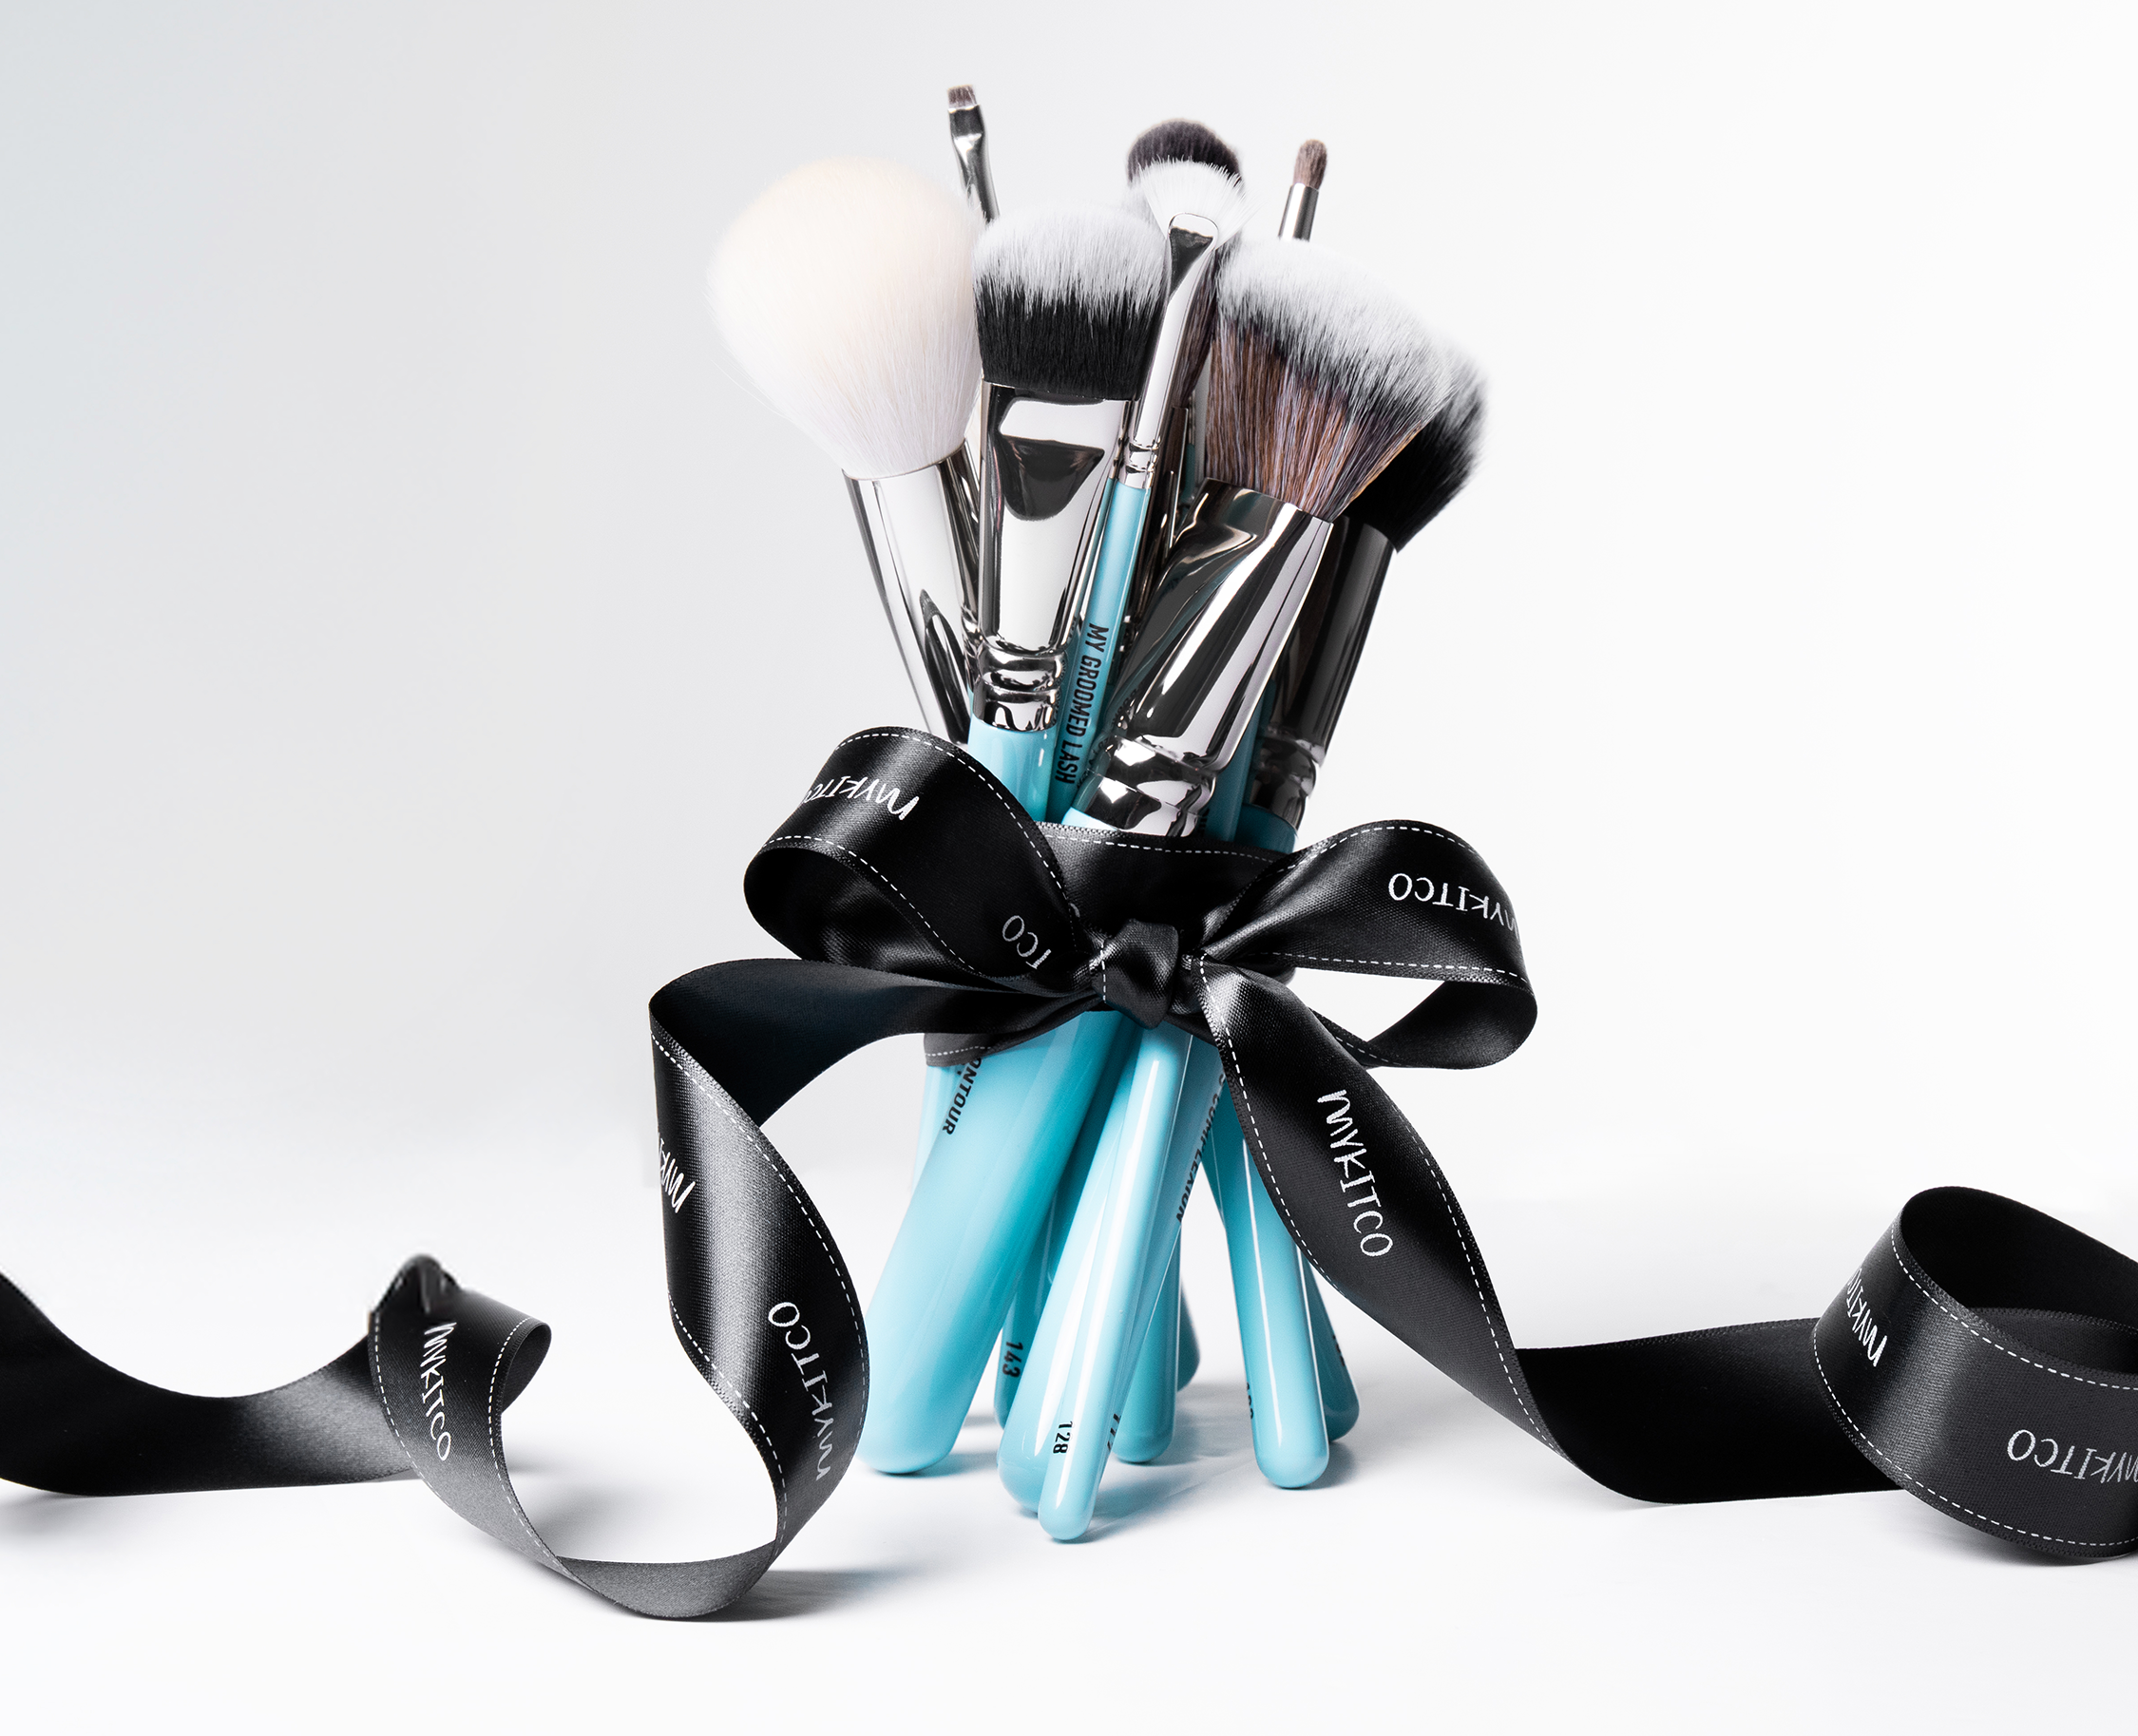
Use a smaller, more precise brush like the MYKITCO 142 MY ANGLED POWDER for cream contouring or the MYKITCO 117 MY FLAWLESS COMPLEXION for powder application. Both are designed to deliver precise placement and seamless blending.
3. Blend Like a Pro
Avoid harsh lines by using a fluffy brush like the MYKITCO 184 MY FLAWLESS MULTI to soften the edges of your contour. This keeps the face looking lifted and natural.
4. Add the Glow
Highlight the high points of the face – cheekbones, brow bones, bridge of the nose, and cupid’s bow – using a small, tapered brush like the MYKITCO 220 MY PRECISE BLENDER. For an editorial glow, I often mix a liquid highlight with a cream before setting with powder—it catches the light beautifully in photography.
5. Final Touch – Set for Perfection
Once you’ve perfected your contour and highlight, set your work with a finely milled powder for long-lasting wear. Focus powder placement only on areas prone to shine to keep the skin looking radiant elsewhere. Try the MYKITCO 141 MY PERFECT POWDER
With the right tools and techniques, you can create a beautifully sculpted face that catches the light from every angle.

Share:
5 Essential Brushes Every Makeup Artist Needs