How to Organise Your Makeup Kit and Save Space
(Without Losing Your Mind)
As a working makeup artist, there’s one universal truth we can all agree on: our kits somehow double in size overnight. What starts as a streamlined selection of essentials quickly turns into a back-breaking, over-stuffed monster that follows us from set to set. I’ve been there more times than I care to admit dragging a suitcase around cities, on the tube, in and out of Ubers that, promising myself I’ll “sort it all out” next week.
Over the years though, I’ve learned that a well-organised kit isn’t just about neatness it’s about efficiency, speed, and professionalism. It’s about saving your back (literally), finding what you need in seconds, and walking into any job prepared, but light. Here’s how I do it, and how you can too, the MYKITCO way.
🧠 Step 1: Think in Categories, Not Products
The first mistake most artists make is packing products, not purposes. Instead of throwing in “every concealer you might possibly need,” think in categories: skin prep, base, complexion, eyes, lips, tools. Once you break your kit into functional sections, it’s much easier to cut back on what’s truly essential and what’s just dead weight.
Ask yourself:
- Does this product serve a unique purpose?
- Can one product replace three?
- Will I realistically use this on set?
Being ruthless here is key, I know it’s tough when we have so much beautiful product.
My rule, If you haven’t reached for something in six months, it probably doesn’t need to travel with you.
🧳 Step 2: Build Your Kit Around a Smart Base
The bag you use is the foundation of your kit and it needs to work with you, not against you. My go-to is the MY BIG CANVAS BAG, because it’s built to handle pro-level kit life. It’s spacious without being bulky, structured enough to protect your products, and easy to open and lay out on a station. I love the clear lid so I can see exactly what I’ve packed
Think of this bag as your kit’s 'home'.
If it’s too heavy or too messy to navigate, everything else becomes harder. Investing in a bag designed for pros makes a bigger difference than most artists realise.
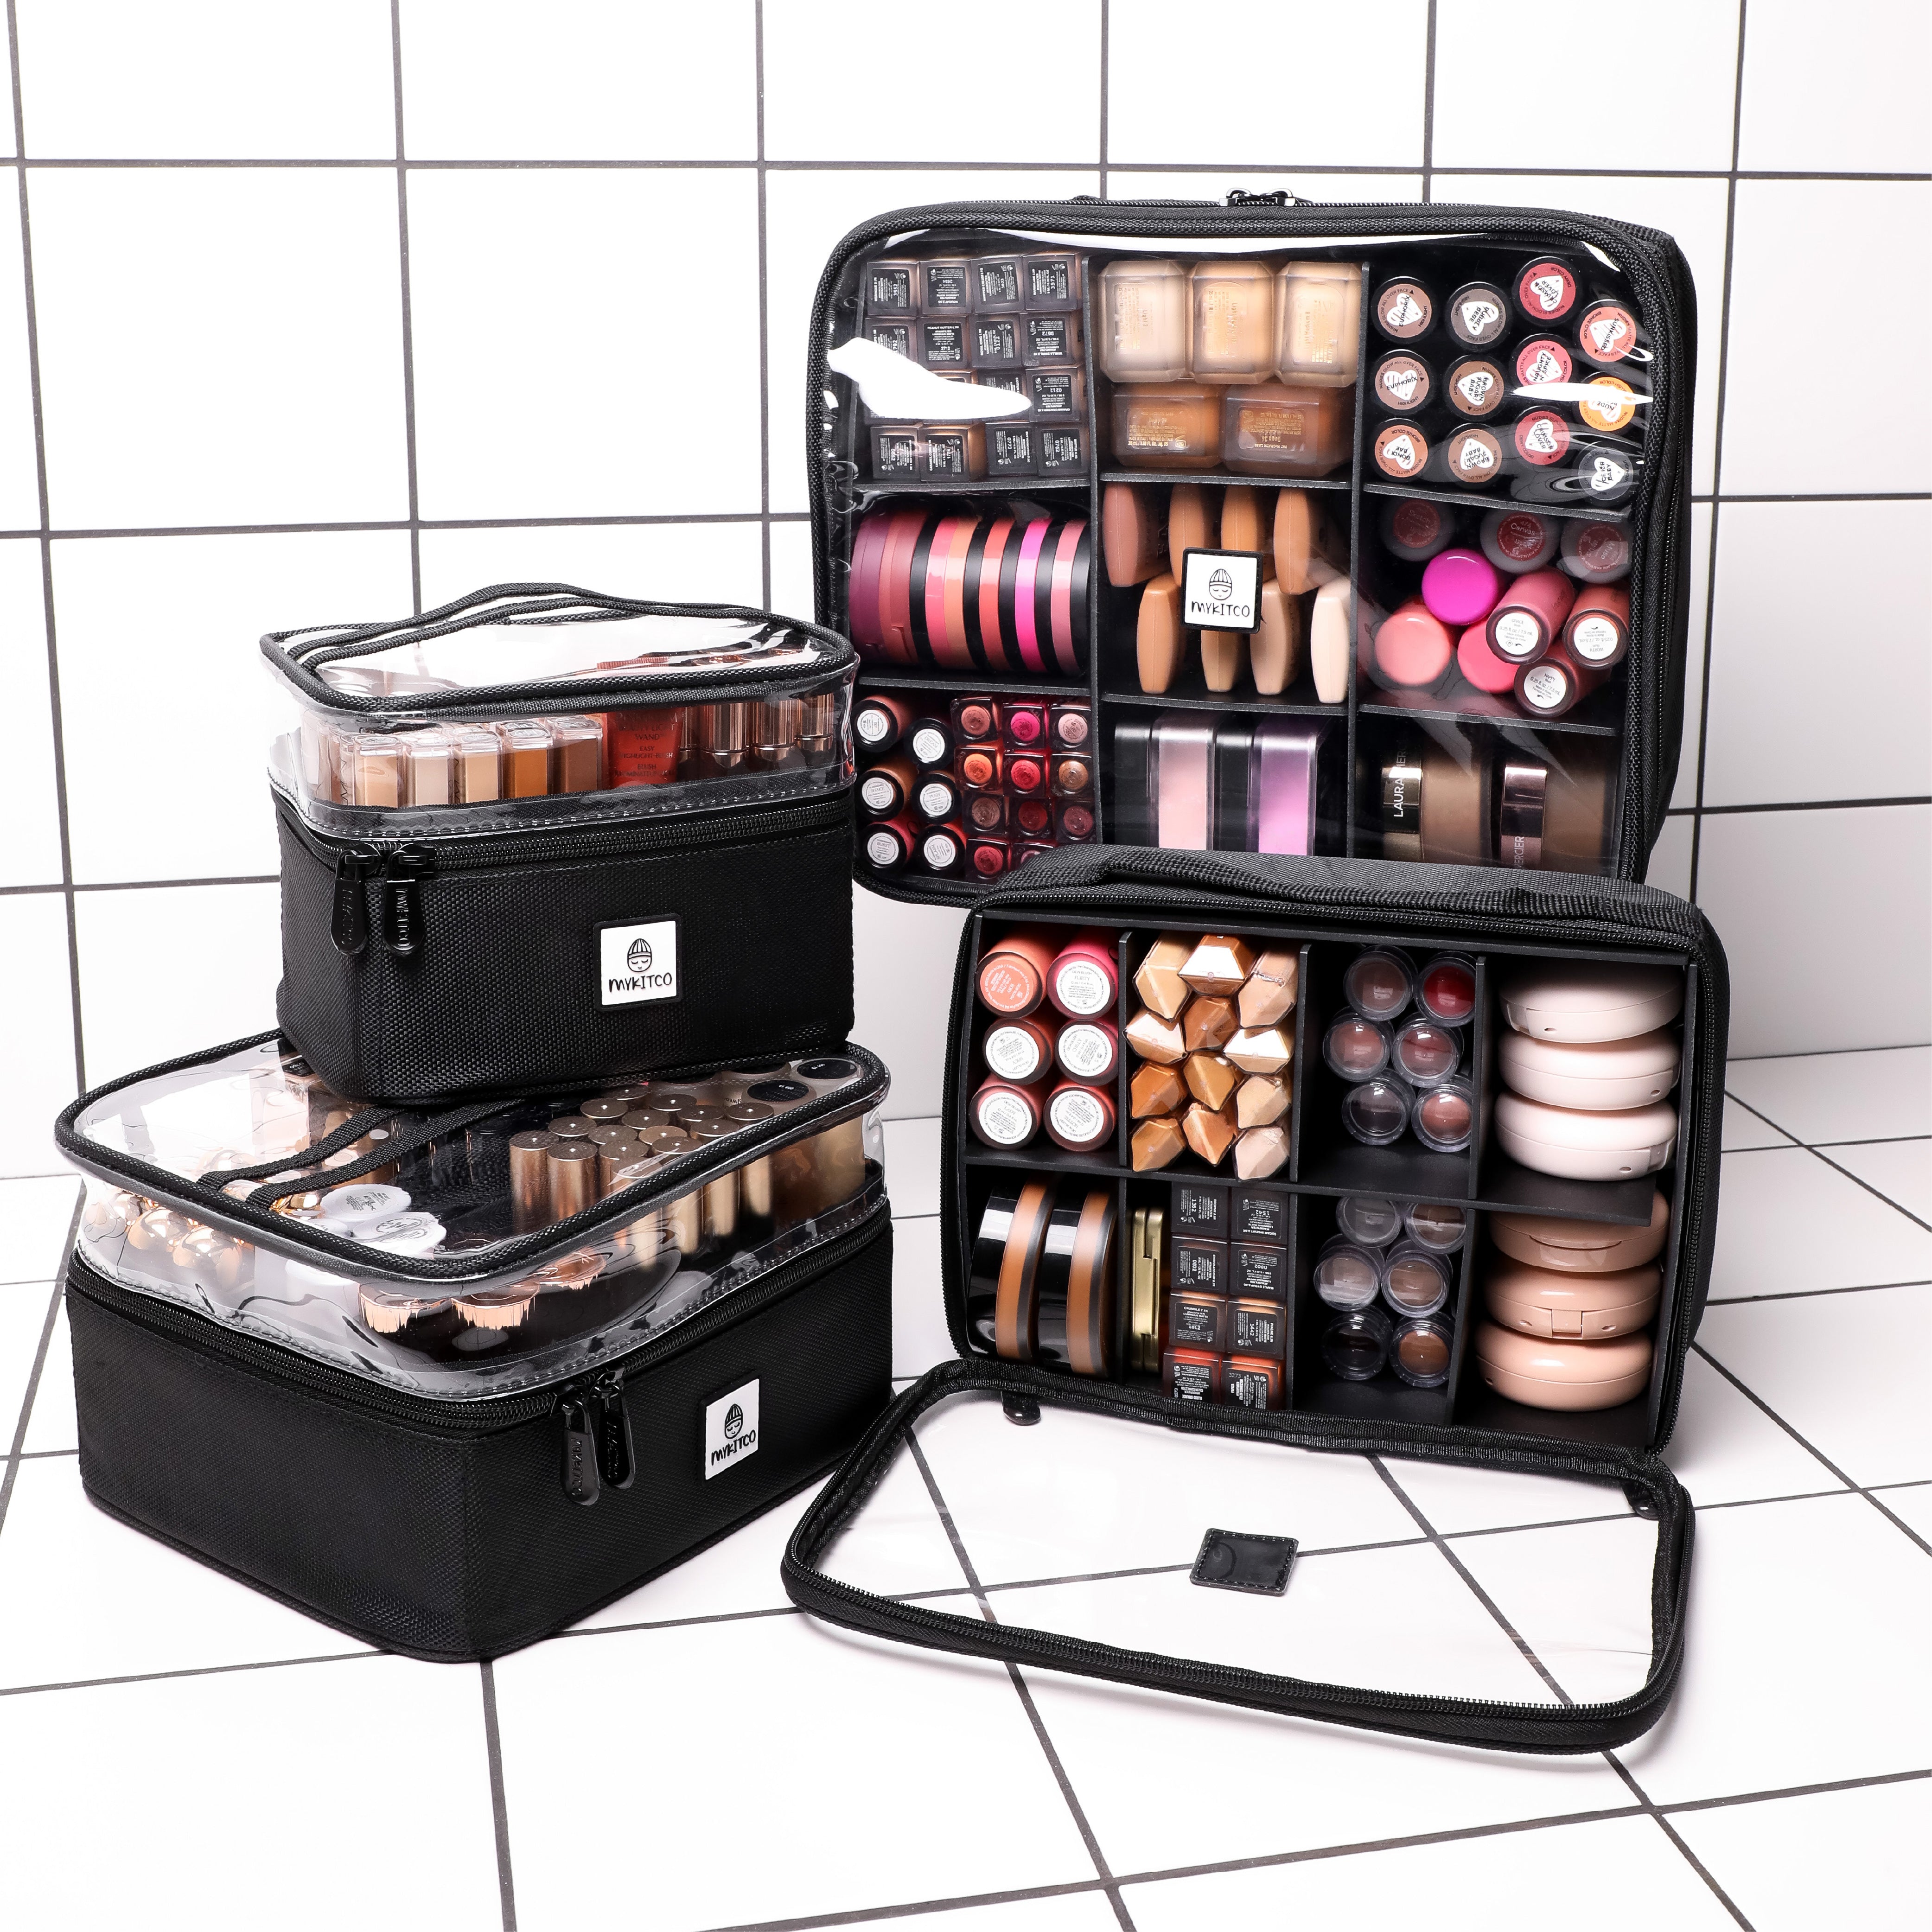
🧩 Step 3: Compartmentalise to Save Time (and Space)
Once you’ve stripped down your kit and chosen your base, the next step is smart storage and this is where organisation meets artistry. In the past 2 years I’ve completely revisited the dividing systems at MYKITCO, we now have Divide-It and Click-It both sit neatly inside your canvas and PVC bags allowing you to divide and organise.
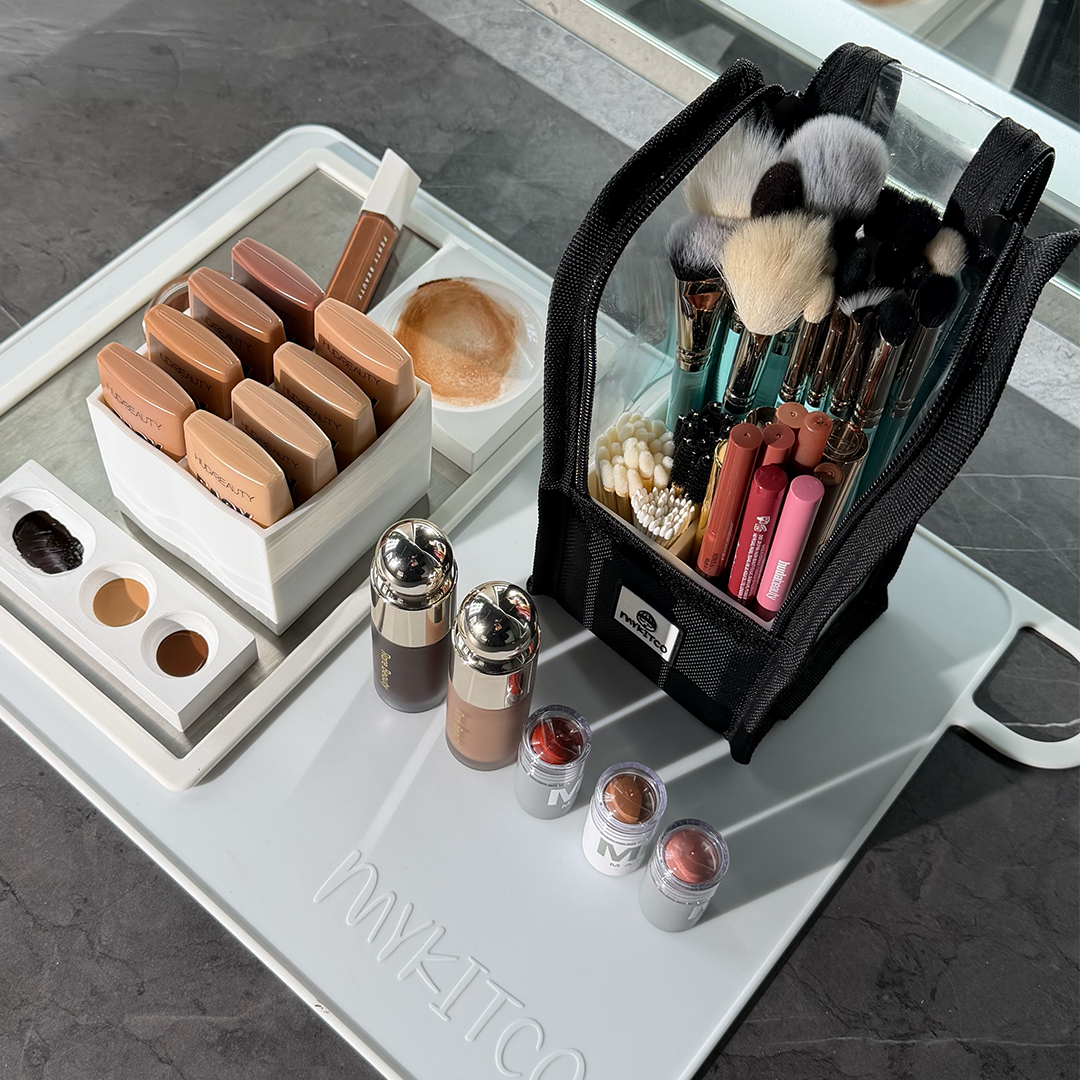
On set my secret weapon is the MY SET BUDDY. It keeps products grouped together by use (like all your complexion must-haves in one place), so you’re never rummaging mid-makeup. It’s divided inside with PVC sections giving me instant options to organise.
I use it to split my kit into 'modules'.
Skin prep, base, eyes, lips which makes packing, unpacking, and working on set faster and more intuitive. It also keeps weight balanced and stops products from migrating into a chaotic jumble at the bottom of your bag.
🔍 Step 4: Review and Refine After Every Job
Your kit is a living, evolving thing. After each job, take five minutes to unpack and review. Did you carry anything you didn’t use? Did you miss anything? Over time, this habit builds the most efficient version of your kit one that’s perfectly tailored to the kind of work you do.
✋ Step 5: Decant and Depot
I can’t tell you how much space and weight I’ve saved by depotting my liquids and powders in to MY BOTTLE BAG. I have the small version for my loose powders which has saved me so much space, the powder flows perfectly through the precise tip and lets me decant just what is needed. I’ve also depotted a full set of liquid foundations in to the large version ensuring I have every shade I need in a compact bag.
✨ Final Thoughts
Organising your kit isn’t just about neatness it’s about working smarter, not harder. A lighter, leaner kit means you’re faster on set, less fatigued, and more confident that you have exactly what you need and nothing you don’t.
It took me years of trial and error to figure this out, but once I did, everything changed from how quickly I could set up a station to how fresh I felt at the end of a long shoot day. Start small: declutter, categorise, and invest in smart storage solutions like the MY BIG CANVAS BAG, MY SET BUDDY, and MY PENCIL POD with MY FLEX-POTS.
Your back and your artistry will thank you.


Share:
🎃 Scarily Beautiful: How to Create the Perfect Broken Doll Halloween Makeup Look
The Pro’s Guide to Pre-Holiday Kit Prep